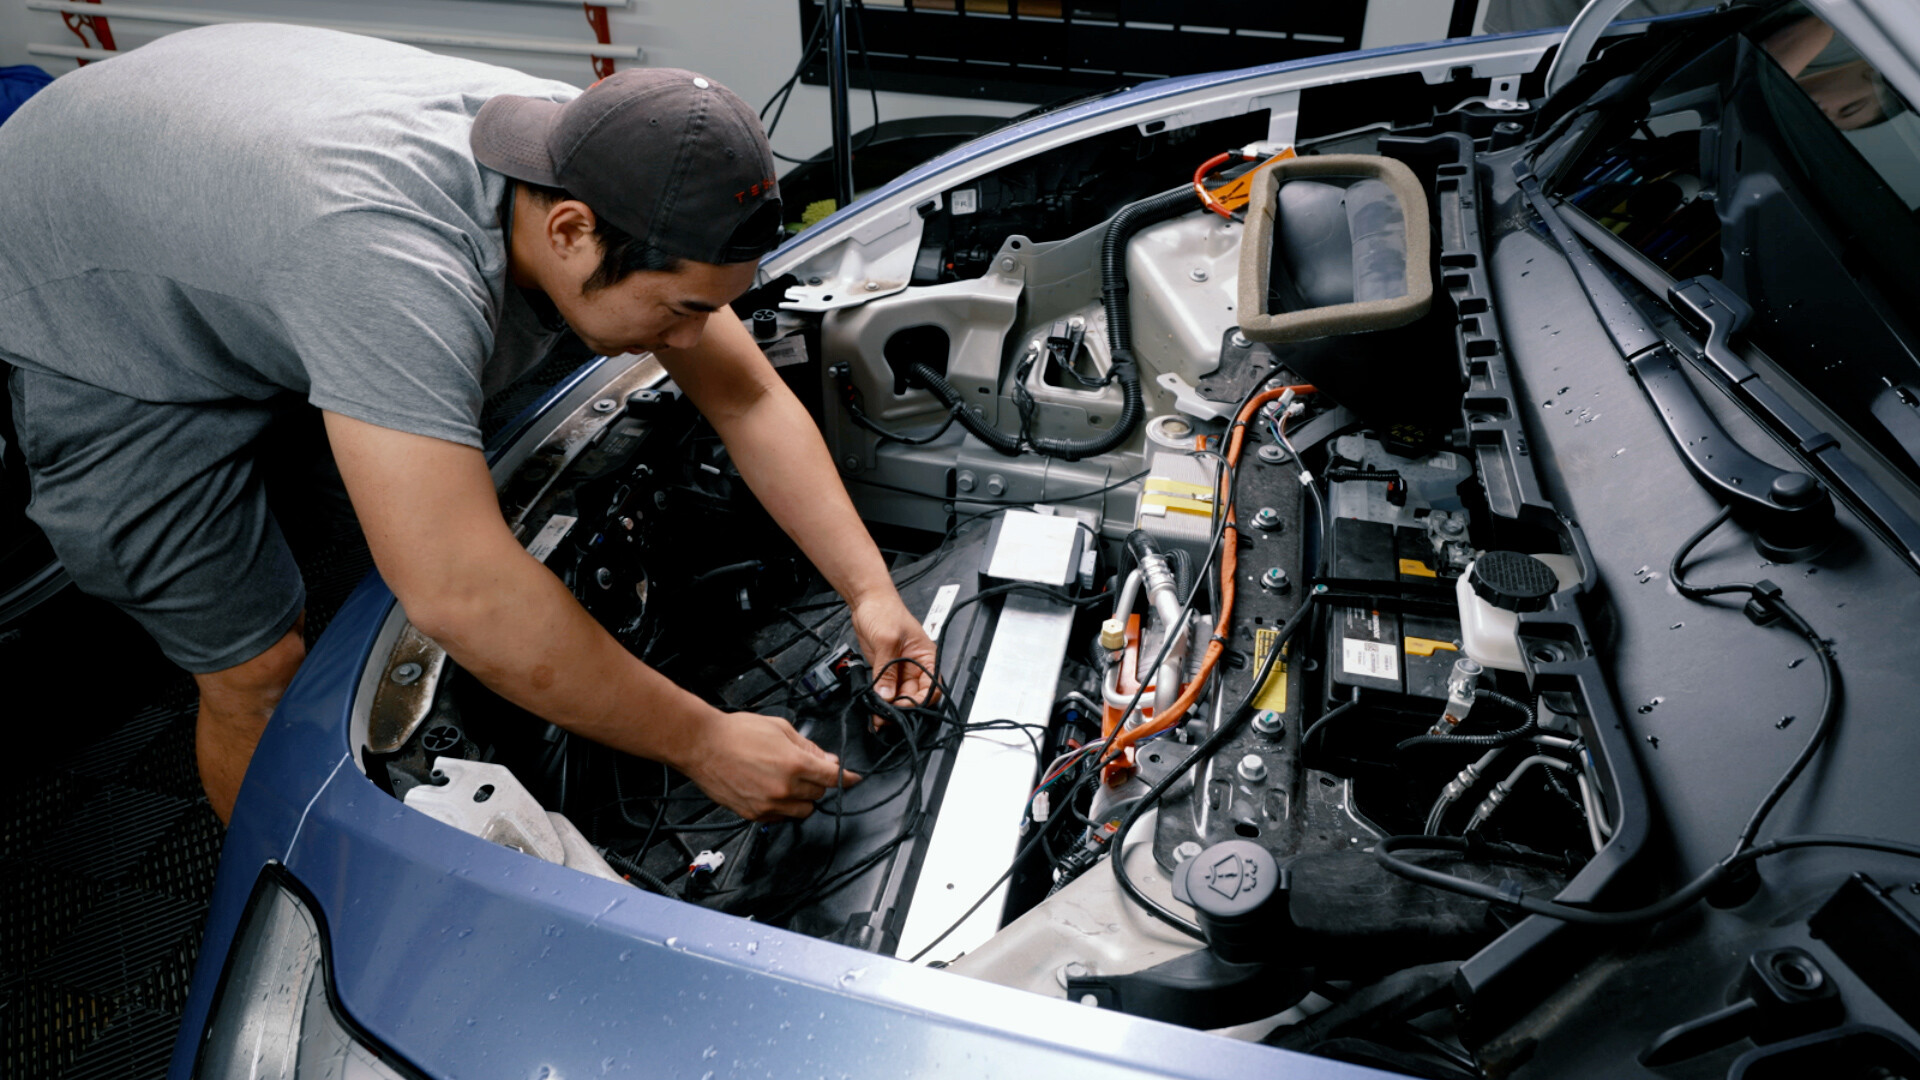
Sometimes you just want a little something extra to flex on your Tesla. We get it. This will upgrade your frunk to an auto power frunk by using your app, key fob, or tailgate button. The Hansshow manual it comes with wasn’t very helpful for me, so I decided to do some trial and error to make this more in-depth guide for you all. I hope it helps! It’s not a super hard install, but it does take some patience, and extra hands never hurts.
CHECK OUT THIS BLOG IF YOU BOUGHT A KIT IN 2023: https://blog.tesbros.com/install-hansshow-power-funk-2023-tesla-model-y/
What you need
- The kit
- trim tools
- Small pry or pick tool OR small flathead screwdriver (this is for wedging in the struts)
- A pole of some sort to hold up the frunk
- 8mm socket
- 10mm socket
- 13mm socket
- 13mm wrench
- Hex key allen wrench set
- Ratchet – I use Milwaukee Electric 3/8″ Extended Reach
- Small ratchet is useful for tight places – I use Neiko with size 5 bit here
- Zip ties
- Electrical tape
Remove Frunk
- Take out the top cover above the frunk. Just raise straight up. It’s held by clips all the way around.
- Unscrew the 4 bolts on the frunk (2 close to the latch, 2 in the floor of the frunk).
- Use a pry tool to take out the clip on the driver’s side.
- Pop out the button panel.
- Unclip the button.
- Raise the frunk straight up and set aside.
Remove Original Struts
- Find a sturdy pole to hold up the frunk.
- Locate the struts underneath the back two hinges. These are hard to get to so be patient!
- Use a small pry tool, pick tool, or a flathead screwdriver to wedge your way into the top of the strut. The video has a good visual.
- Once the tool is in, push the hinge out with your other hand and just let it fall to the side as we work on the bottom.
- Don’t worry with using the pry tool again – just go straight for the bolt that holds it and unscrew that.
- Take the whole strut out, careful not to drop any washers or small bits.
Install Hansshow Struts
- The brackets will say L and R. R will be for the passenger side and L for driver. Think of it as if you’re sitting in the car.
- The photos on the right show how the alignment should be. This is very important to have to sides flush to the walls.
- Screw them in place. These are very hard to reach, so you aren’t alone in this frustration!
- Now the struts. The bottom has the cables attached to it. Go ahead and place it down there and run the cables through to the front.
- Pop the bottom into the socket.
- Next, the top.


Install Latch Parts
- Take the clip on the right side out.
- Use a sharpie to mark where the bolts are originally. Then remove the two 10mm bolts.
- Add in the Hansshow latch part with the original. The video shows how to attach.
- Attach the safety latch through the front tow hitch. The video also shows this better than explaining it here.
- Attach it back where it was with the bolts and washers Hansshow provides. You don’t have to tighten them all the way as you may adjust more later.
- Bring the latch clip down to see if it aligns in the center of the V shape. There’s a slot it should fit into. If it doesn’t look like it’s going to hit, move the bolts up and down.
Wiring
It’s really better to watch the video for this part. There’s just quite a bit that don’t really have names.
Testing
Plug the button in to see if it closes by pressing it. Then, open it up with your app. Close it with the app too, and open once more. Watch the latch and make sure it’s fitting correctly as you do so.
Organizing wires
Put the power box and the actuator in the front with adhesives. Find a spot that doesn’t allow for much tension when the frunk goes back in. Then, bunch up the wires and zip tie them in appropriate places. You just don’t want them to move around, so make sure they are secure.
Troubleshooting Latch Alignment
If you close the hood and it’s not flush with the bumper, try to see what needs to be lowered or heightened. Then, open the hood back up and move the two latch bolts up and down as needed. You might have to do this several times before you get it like you want it.
If it’s really bad and nothing you do is fixing it, then the brackets pictured above might not be in the right place. You’ll need to go back and fix that before moving on.
Reinstall Frunk
- Once everything is in the right place and closing properly, bring the button clip to the front and hook it on the latch area somewhere easily reachable when you put the frunk back in.
- Lower the frunk back into place, aligning the holes in the front where the bolts go. Also check the holes in the bottom of the frunk. They should align.
- Carefully put the edges back over the sides.
- Pop the clip back in on the drivers side.
- Grab the cable you put up by latch and clip it into the button. Then pop the button cover back in.
- Put the top cover back into place by lining up the clips before popping it back in. If you hit it too hard when it’s not aligned, the clips can break.


